
Defining a New Import Step
The information on this page relates to the new upgraded interface of the IConduct platform. To view information about the Classic version of the user interface, follow this link.
Import steps are used to import data into the Schema for transfer or further manipulation. The Import step is flexible. It allows not only to import new data but also to add new data to the existing one; or perform other actions based on predefined criteria. Follow the instructions in the section To Create a New Step and then continue below.
Associate the fields from the source application to specific fields in the Schema.
The Import to Schema Step page has the following fields:
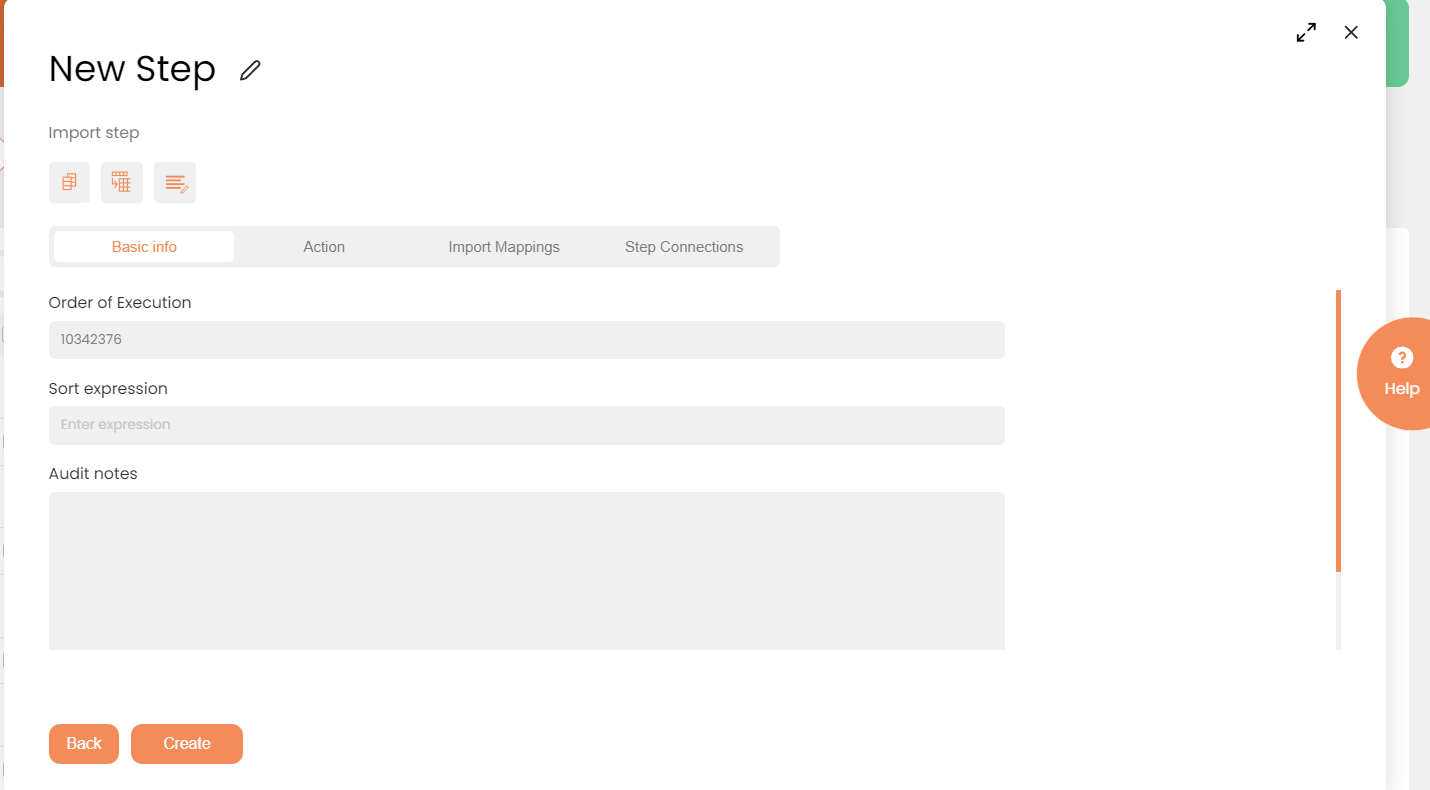
A New Import Step Page (Basic info tab is visible only)
After you select the connection and subtype of the step with connection, the editor opens up. Steps with connections contain a number of fields spread through 4 different tabs representing step creation stages.
Basic info
| Field | Description |
| Name | Provide a step name that will help you to easily interpret and navigate the step. |
| Order of Execution | Enter the order in which this step is to be executed. This number indicates the new step's place in the order in which the steps are executed. There can be gaps between the numbers (10, 20, 30). |
| Sort Expression | (Optional) Use to sort the data from the source database. When you define a sort expression, the system sorts the data arriving from the source database prior to inserting it into the Schema table. |
| Audit notes | Leave notes about the step if needed. This field may contain any information, such as the purpose of the step, further actions that must be taken etc. for you to work with the step in the future or to inform team members about your intent. |
| Is Active | Indicates that the step is active and can be included in further task runs. |
| Save schema | Activate this switch to enable downloading the resulting schema in transactions list. |
| Stop Interface Execution if the Query Failed | Select if this step is crucial to the task. |
Action
| Field/Button | Description | Comment |
| Connection | Select the target database. Press Open for your reference, or if modifications or any changes are required in the pre-defined connection. | Make sure that the Connection you select can be used as a data target. See Managing Connections . |
| Action | Select one of the available options: If you selected Update/Delete or Upsert two additional fields will be added to the page: Schema Column and Source Column. These fields associate a specific field in the source system to a specific field in the Schema. The rows from the source system will Update/Delete or Upsert rows in the Schema based on this association. | The available options are: Insert: Insert new data into the target entity. Update: Update data already in the target. Delete: Delete data from the entity in the target system. Upsert: Depending on the key- either update or insert data. |
| Query | Write the query that will select the required fields. | The syntax has to match the specified connection. |
| Test Query | Click to check if the syntax is correct and required columns are received. |
Additional functions
| Field/Button | Description | Comment |

|
Auto generate Schema columns to match columns in query. | The columns from the query result will be automatically created in the schema. |

|
Automap query results to the Schema. | The columns from the query result will be automatically mapped to the schema columns with the same name. |
If you can't find the necessary Connection in the list, go to your Connection and make sure the Is Active and Is Source checkbox is enabled.
If this is the first Import Step for the selected interface, then you can click the Auto-Generate button followed by the Auto-Map button. The resulting schema table will have the same columns as the query, all correctly mapped.
You have generated a new import step complete with the necessary schema columns and you have associated the schema columns with the source columns.
Make sure that you have all the necessary schema columns for the task.
If necessary, you can manually manipulate the schema table, adding extra columns and/or altering the current mapping.